
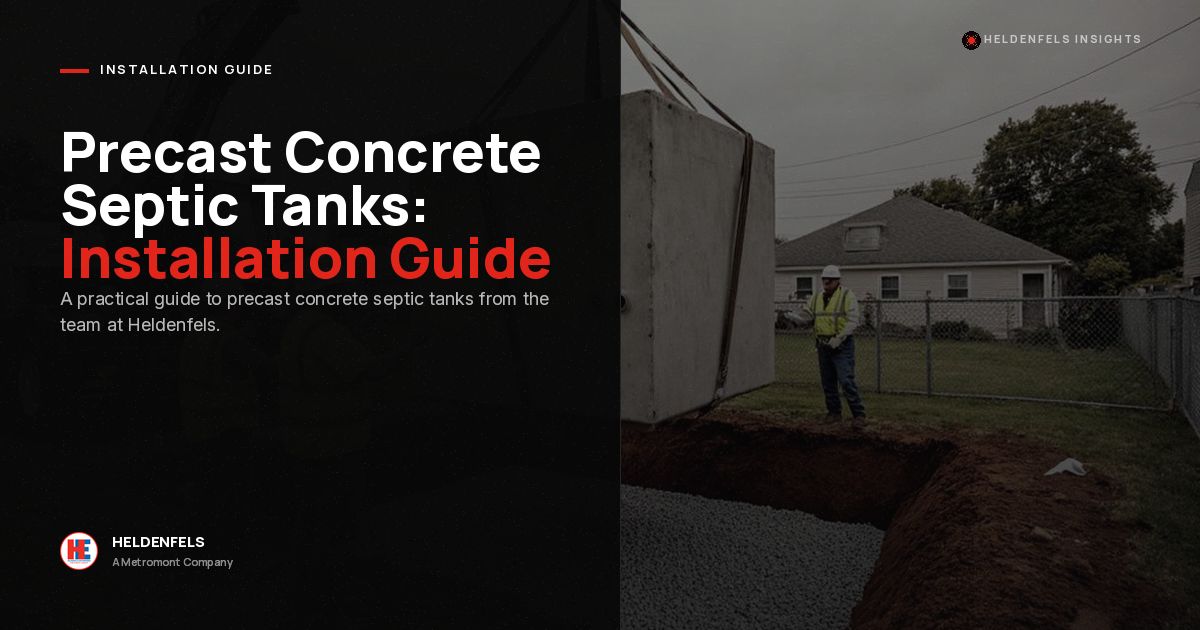
Precast Concrete Septic Tanks: Proven Step-by-Step Installation Guide
A field-tested walkthrough of sizing, site preparation, lift, plumbing, and inspection for a residential or commercial precast septic system that lasts decades.

A reliable on-site wastewater system starts with the tank, and for residential and commercial properties alike, precast concrete septic tanks set the standard for durability, structural integrity, and long-term value. Plastic and fiberglass alternatives have their place, but they cannot match the buoyancy resistance, crush strength, and 50-plus-year service life of a properly installed precast unit. Whether you are a homeowner replacing a failed cast-in-place system, a builder spec’ing a new construction project, or a property manager planning a commercial wastewater upgrade, the installation process determines whether the tank performs flawlessly for decades or causes recurring callbacks. This guide walks through the complete sequence: from sizing and site evaluation, through excavation and tank setting, to the plumbing connections, inspections, and backfill detailing that separate a textbook install from an expensive retrofit.
Why Precast Concrete Septic Tanks Are the Right Choice
A precast tank arrives at the job site already cured to design strength, eliminating the field-cure window, weather exposure, and dimensional variability that hampered cast-in-place systems for decades. The factory-controlled environment produces consistent wall thickness, tighter rebar placement, and a dense, low-permeability concrete mix that resists the corrosive byproducts of anaerobic digestion. That last point matters more than most buyers realize: hydrogen sulfide gas, sulfuric acid condensation, and constant chemical assault from waste solids will eat through inferior materials within a decade. Precast concrete handles that environment for half a century or more when the unit is properly installed and serviced on schedule.
Beyond longevity, the weight of a precast tank is its quiet superpower. A typical 1,000-gallon residential unit weighs roughly 10,000 pounds; a 1,500-gallon commercial tank tips the scales at well over 15,000. That mass keeps the tank firmly seated in saturated soil and high-water-table conditions where lighter polyethylene units float, shift, or rupture. For sites near streams, in flood-prone zones, or anywhere the seasonal water table climbs above invert elevation, this single property makes precast the only sensible choice. The same principle is what makes precast equipment foundations the standard for vibration-prone industrial applications: dead weight does what nothing else can.
Sizing and Planning Before Installation Begins
Sizing precast concrete septic tanks is not a back-of-the-napkin calculation. Most state environmental health agencies size residential tanks based on bedroom count, with daily flow assumed at 150 gallons per bedroom and minimum tank capacity set at 1,000 gallons for any home with three bedrooms or fewer. A four-bedroom home jumps to 1,250 gallons; a five-bedroom home requires 1,500. Commercial properties are sized on actual daily flow, occupancy patterns, and the type of waste stream involved, with restaurants, laundries, and medical facilities all carrying their own multipliers.
Before the dig begins, secure these inputs in writing:
- Approved site evaluation and percolation test from the local health department, showing soil type, water table depth, and approved drain field location.
- Setback distances from wells, property lines, surface water, building foundations, and existing utilities. Most jurisdictions require 50 feet from a private well and 10 feet from a building.
- Approved tank size and configuration based on the household or building load and the engineered design.
- Permits and an inspection schedule so the health department can witness key milestones without delaying backfill.
The U.S. Environmental Protection Agency’s SepticSmart program publishes excellent homeowner-facing material that explains how an approved system is supposed to be designed, installed, and maintained. Builders and contractors should also confirm tank specifications match the engineered drawings before delivery is scheduled; a wrong-size unit is far cheaper to refuse on the truck than to swap out after the hole is dug.
The Installation Sequence Step-by-Step
A properly equipped crew can install a typical residential tank in a single day, with backfill and final grading wrapped the following morning. Commercial installations take longer because of larger excavations, more involved plumbing, and the inspection cycle. Here is the field sequence we follow on Heldenfels projects.
Excavation
Lay out the excavation 18 to 24 inches larger than the tank footprint on all sides to give the crew room to work, set the unit cleanly, and pack uniform backfill. Dig to a depth that places the inlet invert below the discharge line from the building, with the proper slope (typically 1/4 inch per foot) maintained back to the source. The bottom of the hole must sit on undisturbed native soil; if you over-excavate, recompact in lifts with clean crushed stone rather than dropping the tank onto disturbed fill, which will settle unevenly under load.
Slope the excavation walls per OSHA standards or shore them with trench boxes for any dig deeper than 5 feet. Even on small residential lots, a sudden trench collapse during tank setting is a fatal hazard the crew has no time to react to.
Setting the Tank
Place 4 to 6 inches of compacted crushed stone or coarse sand on the bottom of the excavation to create a level bedding plane. A laser level or string line confirms the bedding is true in both directions; a tank set on an uneven base will rock, stress the joints, and crack the inlet baffles within the first year.
The delivery truck arrives with the unit already rigged for lifting. Most modern tanks include cast-in lifting inserts that engage with rated slings or a four-point chain pendant. The boom truck operator and the crew on the ground rehearse signals before the lift starts. Lower the tank slowly into the hole, take a test set, and confirm the unit is level and oriented so the inlet and outlet pipes line up with the building discharge and the drain field tee. Adjust bedding by hand if needed; never shim a precast tank with wood or steel plates, which compress unevenly and concentrate point loads on the slab.

Plumbing Connections and Risers
With the tank set, connect the building sewer line to the inlet using an approved flexible boot, gasketed coupling, or rubber-cast adapter that accommodates minor settlement without breaking the seal. The outlet pipe runs to the distribution box or drain field, again through a gasketed boot. Install effluent filters where local code requires them; they reduce solids carryover and extend drain field life dramatically.
Cast-in or grouted risers bring the access lids to within 6 to 12 inches of finished grade so the homeowner does not have to excavate the entire tank top to perform routine pumping. Many modern installations bring risers fully to grade with a heavy-duty traffic-rated lid, which is the right detail for any tank under a driveway or parking lot. The lid gasket must be replaced any time the lid is opened; a single failed gasket will admit groundwater and accelerate the gas-condensation corrosion described earlier.
Backfill and Final Grading
Fill the tank with clean water to within 12 inches of the outlet invert before backfill begins. The internal water load counteracts the lateral pressure of the surrounding soil and prevents wall flexion during the compaction process. Backfill in 12-inch lifts using clean, screened native soil or imported select fill, free of rocks larger than 3 inches and organic debris. Compact each lift uniformly around the tank, not on top of it, to avoid point-loading the top slab.
Once backfill reaches grade, slope the surface a minimum of 2 percent away from the tank in every direction so surface water sheds rather than ponds. Mark the riser locations clearly and document the as-built location with measurements from two permanent benchmarks so the homeowner or a future contractor can find the access points without guessing.
Common Installation Mistakes That Cause Premature Failure
Most callbacks on precast concrete septic tanks trace back to one of five preventable shortcuts. Each fix is inexpensive at install time and disproportionately costly to retrofit later.
| Mistake | Why It Fails | Fix |
|---|---|---|
| Setting on disturbed soil | Loose fill compresses unevenly, causing the slab to settle and crack the joints | Bed on 4 to 6 inches of compacted crushed stone over undisturbed soil |
| Skipping the water-fill before backfill | Lateral soil pressure flexes the tank walls and breaks the seam between top and bottom | Fill within 12 inches of the outlet invert before any compaction begins |
| Rigid pipe connections at the inlet | Settlement shears the pipe and admits groundwater into the tank | Use a gasketed flexible boot or rubber-cast adapter at every penetration |
| Risers buried too deep | Homeowner cannot access lids for pumping, leading to deferred maintenance | Bring risers within 6 to 12 inches of finished grade, or fully to grade under traffic |
| Surface ponding over the tank | Standing water saturates the backfill and accelerates corrosion at the lid gasket | Slope finished grade at least 2 percent away from the tank in every direction |
When a homeowner reports a “smelly yard” or “wet spot near the tank” within the first few years of service, the failure can usually be reverse-engineered to one of these missteps from the as-built photos alone.
Field tip: Photograph every gasketed connection before backfill begins, with the riser stub and pipe penetrations clearly visible. A 30-second cell phone record on install day saves hours of test excavation if a future leak ever needs to be diagnosed, and it gives the homeowner a documented record for a future inspection or property transfer.
Replacement and Reinstallation Considerations
Older systems eventually reach the end of their service life, and reinstallation of a new precast unit often makes more economic sense than attempting to repair a cracked, deteriorated, or undersized existing tank. Decide based on three factors: structural condition of the existing tank, hydraulic capacity relative to current household load, and code compliance of the surrounding components.
A tank with sound walls but a failed inlet baffle can sometimes be repaired in place; a tank with hairline cracks running through the riser ring or evidence of rebar corrosion at the access lid is past saving. When the existing tank size no longer matches the building footprint (a common outcome of home additions and finished basements), full replacement is the only path that returns the system to code. Coordinate the reinstallation with the local health department; many jurisdictions treat a tank replacement as triggering a full system review, including drain field inspection and verification that the original setback distances are still met.
Inspections and Long-Term Maintenance
Even the best-installed precast concrete septic tanks still demand routine maintenance. Pump residential tanks every 3 to 5 years; pump commercial tanks based on usage patterns and the recommendation of the engineer of record. Inspect the effluent filter annually and clean it as needed. Watch for surface signs of failure: unusually lush grass over the drain field, plumbing backups, gurgling drains, and odors near the tank access.
Heldenfels has been manufacturing precast concrete for industrial, commercial, and infrastructure applications since 1909. Our precast manufacturing capabilities span tanks, structural components, retaining walls, and custom shapes for projects throughout Texas and the surrounding region. The same engineering disciplines that govern our bridge girders and structural precast govern our wastewater products. If you are evaluating precast for a septic, equipment foundation, or any other below-grade application, the underlying quality controls and material science are identical across the line.
Bringing the Project to a Confident Finish
A properly installed precast tank is the kind of infrastructure a property owner forgets about, in the best possible sense. It does its job quietly for decades while polyethylene and fiberglass alternatives demand attention long before then. The keys are the unglamorous fundamentals: accurate sizing, undisturbed bedding, careful lift and set, watertight plumbing connections, and disciplined backfill in controlled lifts. Respect those basics and the tank will outlast multiple changes of ownership; cut a corner on any one of them and the system will tell on you within a few seasons.
For builders, contractors, and property owners planning a wastewater installation, the most consequential decision is made long before the equipment arrives on site. Verify the engineered design, confirm the soil and water-table conditions, and coordinate inspection windows so the project flows without idle days waiting on a health department visit. Treat the install with the same discipline as how precast concrete is made in the plant: tight tolerances, documented steps, and quality control built into every phase. The result is a system the homeowner never has to think about, which is exactly the outcome a good installation is supposed to deliver.
Planning a Precast Septic or Wastewater Project?
Heldenfels Enterprises has manufactured precast concrete for Texas builders and contractors since 1909. Talk to our team about tank sizing, shop drawings, lead times, and delivery for your next project.
Start the Conversation