
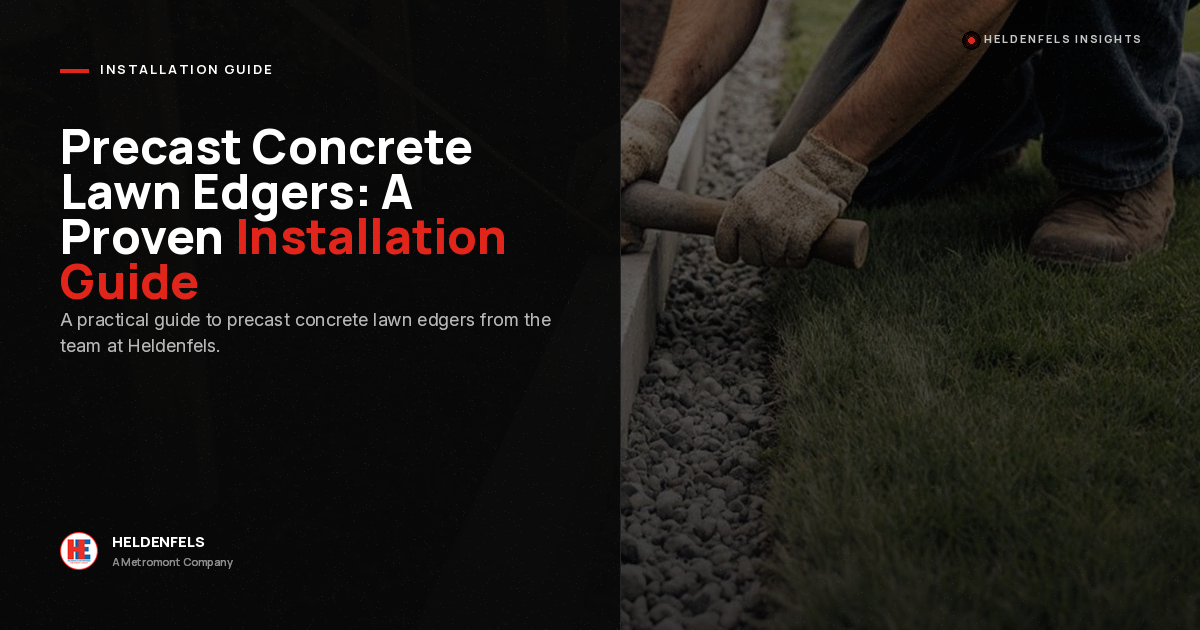
Search any gardening forum and you will find the same debate playing out: is concrete edging a genius upgrade or an expensive mistake waiting to crack? The honest answer is that the material almost never fails on its own. What fails is the installation. Poured-in-place edging is only as straight as the hand troweling it, and thin plastic strips heave out of the ground the first hard winter. That is exactly why precast concrete lawn edgers have become the practical middle path: factory-cast units give you the mass and durability of concrete without the wet-mud gamble of pouring your own. Get the base and the layout right, and a border like this will hold its line for decades. This guide walks through the full sequence so you can install it correctly the first time.
Why Precast Concrete Lawn Edgers Beat Poured and Plastic Edging
Every edging option is really a fight against three forces: soil movement, water, and the string trimmer. Plastic and metal edging lose that fight quickly because they have almost no mass. Poured concrete has the mass but inherits every flaw of a field pour: inconsistent thickness, trapped air, hairline shrinkage cracks, and a finish that depends entirely on the weather that day. Units cast in a controlled plant sidestep all of that. They cure to a consistent design strength before they ever reach your yard, which is the same reason engineered precast is trusted in demanding infrastructure where freeze-thaw and constant loading are a given.
For a homeowner, the practical payoff is threefold. Each unit is dimensionally identical, so the border reads as a clean, continuous line instead of a wavering ribbon. The weight keeps segments seated against frost heave far better than staked plastic. And because the concrete is already dense and fully cured, it shrugs off the routine abuse of a mower deck and a weekly trimmer that would chip or chew a lesser border. If you want a deeper look at how factory casting produces that consistency, our overview of how precast concrete is made covers the process from mix design to demolding.
What You Need Before You Start
A clean install depends far more on preparation than on muscle. Before the first unit goes down, gather your layout, your base material, and your compaction tools. Skipping any of these is where the “huge mistake” stories usually begin.
- Layout tools: mason’s line and stakes, marking paint or a garden hose for curves, a tape measure, and a torpedo or 2-foot level.
- Excavation: a flat spade, a mattock for roots, and a wheelbarrow to haul spoil away.
- Base material: 3/4-inch crushed stone (angular, not rounded pea gravel) and coarse leveling sand or stone dust.
- Compaction: a hand tamper for short residential runs, or a rental plate compactor for anything longer than about 40 feet.
- Setting and finishing: a rubber mallet, polymeric sand or a flexible concrete-compatible joint filler, and landscape fabric where you want to suppress weeds behind the border.
Confirm the profile and dimensions of the units before you dig. Straight-run segments, radius pieces, and matching cap details all affect how tight your curves can be, so plan the run around the actual pieces you are ordering rather than guessing.
How to Install Precast Concrete Lawn Edgers Step by Step
With materials staged, the install itself moves quickly. The sequence below is the same discipline our crews apply to larger site work, scaled down for a residential bed. Work in order and resist the urge to skip the base.
1. Mark the Line and Cut the Trench
Lay out the border first. Run a mason’s line between stakes for straight sections, and use a garden hose or marking paint to preview curves until the shape looks right from the house and the street. Once you are happy with it, cut a trench along the line roughly twice as wide as a single unit and deep enough to bury your base plus about a third of the edger’s height. For most residential profiles that means a trench 5 to 7 inches deep. Keep the walls square and the bottom as flat as you can.
2. Build and Compact the Base
Place 3 to 4 inches of angular crushed stone in the trench and compact it in thin lifts. This is the single most important step in the entire project. A properly compacted stone base drains water away from the underside of the border and gives frost somewhere to go, which is precisely what stops the heaving that ruins cheaper edging. Add a thin leveling layer of stone dust or coarse sand on top of the compacted stone so you have a screed-able bed to seat each unit into.

3. Set and Level Each Unit
Lower the first unit onto the bed and seat it with a few taps of a rubber mallet. Check it in two directions: level side to side, and pitched a hair toward the lawn (not the bed) so surface water sheds away from your plantings. Set the next piece tight against the first, then run your level or a straightedge across both to confirm the tops align. A low unit gets a pinch more sand under it; a high one gets tapped down or a little bed removed. Take the extra minute per piece here, because a single unit set proud of the others is the flaw the eye lands on every time you walk past.
4. Backfill, Joint, and Finish
Once the run is set and checked, backfill both sides. Pack the bed side with soil or the same crushed stone and firm it against the units so nothing rocks. On the lawn side, backfill to just below the top of the border so a mower wheel can ride over the edge cleanly. Fill the joints between units with polymeric sand or a flexible concrete-compatible filler, sweep the excess, and mist it to set. That flexible joint lets the border move slightly with the seasons instead of cracking. Good drainage detailing here matters more than people expect; the EPA’s guidance on rain-friendly landscapes is a useful primer on directing runoff away from beds and hardscape.
Common Mistakes That Turn a Clean Border Into a Callback
When someone posts photos of tilted or cracked concrete edging, the culprit is almost always one of four shortcuts. Each is cheap to avoid at install time and disproportionately annoying to fix later.
| Mistake | Why It Fails | Fix |
|---|---|---|
| Setting units on bare soil | Soil holds water and heaves with frost, tilting and separating the border | Excavate and compact 3 to 4 inches of angular crushed stone first |
| Skipping compaction | Loose base settles unevenly in the first season, dropping units out of line | Compact the stone in thin lifts with a tamper or plate compactor |
| Pitching toward the bed | Water pools against plantings and undermines the border from behind | Set a slight pitch toward the lawn so runoff sheds away from the bed |
| Rigid mortar joints | Hard mortar cannot flex with seasonal movement and cracks at every seam | Use polymeric sand or a flexible, concrete-compatible joint filler |
Notice that none of these are failures of the concrete itself. That is the whole point of the forum debate: the material is more than capable, so the outcome comes down to how carefully the base and joints are handled.
Field tip: On a curved run, dry-fit the radius pieces before you spread any leveling sand. Lay them along the trench first, adjust the spacing until the curve looks smooth, and mark their positions. Setting curves by eye after the sand is down almost always leaves one awkward gap you cannot close without lifting half the run.
Keeping the Border Sharp Through Every Season
The maintenance upside is the quiet reason precast wins. Because the units are dense, fully cured, and heavy, upkeep is close to nothing. An annual pass to top off any joints that have thinned and a quick rinse to clear soil film is about all a healthy border needs. Where winters are harsh, a breathable concrete sealer applied every few years adds insurance against surface scaling from de-icing salt carried in on foot traffic.
If the border ties into a larger hardscape, the same principles scale up. A low seat wall, a raised planter, or a mow strip along a driveway all rely on the identical base-and-drainage fundamentals, and they pair naturally with matching precast concrete caps for a finished top edge. For projects that grow beyond a single bed into retaining or structural work, it is worth understanding the full range of precast manufacturing capabilities available so the edging, walls, and caps all read as one designed system rather than a patchwork of parts.
The Bottom Line on Precast Concrete Lawn Edgers
The genius-or-mistake question really has a simple answer: precast concrete lawn edgers are a genius upgrade when they are installed on a compacted, well-drained base and a mistake only when that base is skipped. The units bring durability, dimensional consistency, and a clean line that plastic and poured edging cannot match, and the install is well within reach of a careful weekend. Spend your effort where it counts, on layout, compaction, and drainage, and the border itself becomes the easy part.
Done right, this is the kind of detail that quietly elevates an entire landscape and then holds that first-day crispness through winter after winter, mowing after mowing, without asking for much in return.
Planning a Precast Project?
Heldenfels Enterprises has engineered and manufactured precast concrete across Texas since 1909. Talk to our team about edging, caps, walls, and the fundamentals that make them last.
Start the Conversation